Clifton Elite Roofing handles roof leak repair in Clifton, NJ, serving surrounding cities including Woodland Park, Wallington, Wood-Ridge, Rutherford and Totowa. In more than 20 years of tracking down leaks on North Jersey houses, the most important lesson has been simple: the stain on the ceiling is almost never directly below the hole in the roof.
That is why every leak call we take includes a trip into the attic as well as onto the roof. Water can run along a rafter, a plank board or the top of a wall for several feet before it drips, and on the older houses common in Clifton it often travels farther still. Pricing a repair before that path has been traced is guessing.
Once the entry point is found, we photograph it, explain what failed and why, and fix that specific detail, whether it is a cracked pipe boot, loose step flashing or a lifted shingle. If the leak is one symptom of a roof that has reached the end of its life, we tell you that plainly, but a single leak on a sound roof is a repair job, not a sales opening.
Where Roof Leaks Usually Start
Chimney Flashing Leaks
Brick chimneys are the top leak source on older houses. The step flashing along the sides, the counter flashing set into the mortar, and the back of the chimney where water piles up against the brick all wear out, and mortar joints that hold the counter flashing crack and let it pull loose.
We rebuild the flashing course by course, cut new counter flashing into a reglet or mortar joint, and add a cricket behind a wide chimney so water is split around it instead of ponding. Sealant smeared over failed flashing is a temporary measure at best.
Pipe Boots, Vents and Exhaust Caps
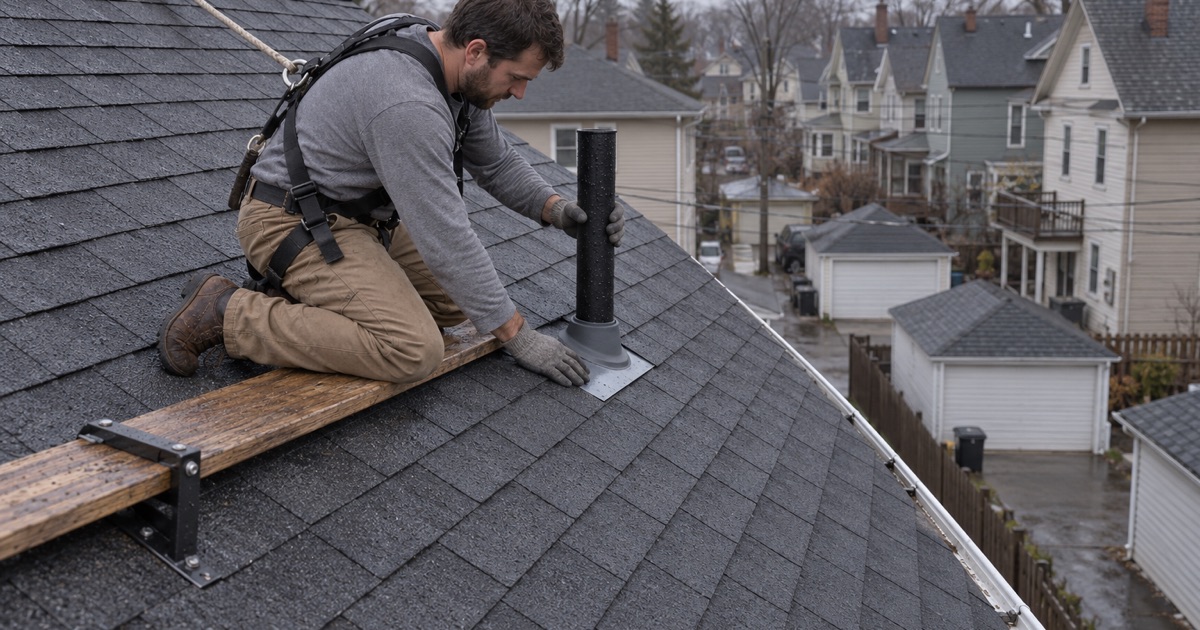
The rubber collar around a plumbing vent stack cracks in the sun long before the shingles wear out. Box vents, bath fan caps and old turbine vents leak at broken housings and missing fasteners. These are some of the quickest leaks to fix, and some of the most common we find.
We replace cracked boots with lead flashing boots or long-life collars and reseat vents with new fasteners and proper shingle overlap. Where an old vent has been buried in roofing cement, we strip the buildup so the replacement can lie flat.
Valleys and Roof-to-Roof Joints
Valleys carry the water from two roof planes, so a worn or poorly cut valley leaks under heavy rain. The joints where a porch, garage, dormer or later addition meets the main house are another frequent source, especially where the two roofs were built at different times with different pitches.
We rebuild valleys with ice and water barrier and valley metal or a properly cut shingle valley, and reflash the joint between roofs with apron, step and kick-out flashing so water is carried past the transition.
Skylight Leaks
A skylight can leak through its flashing, its seals, or condensation on the glass that looks like a leak. We determine which before recommending anything. A flashing leak is fixed with a new flashing kit, while a failed unit or fogged glass usually means the skylight itself should be replaced.
Wind-Driven Rain and Lifted Shingles
Shingles whose seal strips have broken can lift in a gust and let rain blow underneath, then settle back down so the roof looks normal from the ground. We check for creased tabs and loose seals around the leak area and on the windward side, then re-nail, hand-seal or replace the damaged pieces.
Leaks That Are Not What They Seem
Attic Condensation Mistaken for a Leak
In cold weather, warm moist air from the house can condense on the underside of the roof deck and on nail tips, then drip when the sun warms the roof. It looks like a leak, but no roof repair will stop it. We look at soffit intake, ridge exhaust, insulation and where bath and kitchen fans actually vent.
Fixing the airflow, and making sure exhaust fans discharge outside rather than into the attic, ends this kind of drip. It also protects the decking from the slow rot that constant winter moisture causes.
Plumbing and HVAC Leaks in Top-Floor Ceilings
A stain under a bathroom or near an attic air handler may come from a supply line, a drain, or a condensate pan rather than the roof. If the stain does not line up with rain, or keeps growing on dry days, we check the plumbing runs and equipment above it before anyone touches the shingles.
Ice Dams and Winter Eave Leaks
When heat escaping from the house melts snow higher on the roof, the water refreezes at the colder eave and backs up under the shingles. These leaks appear at the outside walls and along the eave line. Our fix looks at the eave detail and at the attic insulation and ventilation that cause the melting in the first place.
New Jersey’s code requires an ice barrier at the eaves only in Sussex County. Here it is optional, but on a house with a history of ice dams we recommend self-adhering ice and water membrane at the eaves when that section is reroofed.
Leak Repair on Different Roof Types
Shingle Roofs
On asphalt shingle roofs we lift the surrounding courses carefully, replace damaged shingles and underlayment, and reinstall flashing with the correct overlap so water always sheds over the joint below it. Matching color and profile is part of the repair, not an afterthought.
Slate Roofs
Slate leaks usually come from a cracked or slipped piece or from flashing that has worn out under sound stone. We replace slates with matching material on copper nails or slate hooks, and rebuild valley and chimney flashing in copper or lead-coated copper so it lasts as long as the slate around it.
Flat and Low-Slope Roofs
On EPDM, TPO and modified bitumen roofs, leaks come from open seams, punctures, failed flashing at curbs and walls, and clogged drains. We patch with compatible materials, weld or adhere new membrane over cleaned surfaces, and replace wet insulation under the damaged area rather than sealing moisture in.
Our Roof Leak Repair Process
Step 1: Listen to the Leak History
When the leak appears, which rooms, which storms and how long it has been happening all narrow the search. Leaks that show only with wind from one direction, only after snow, or only on sunny winter days each point to different causes.
Step 2: Trace It in the Attic
We follow staining, wet wood and drip marks from the ceiling back toward the high point where water first entered. This is the step most contractors skip, and the one that decides whether the repair works.
Step 3: Confirm the Entry Point on the Roof
On the roof we inspect the flashing, boots, shingles and valleys above the traced path and photograph what failed. You see the cause before we price the repair.
Step 4: Repair, Clean Up and Recheck
We make the repair, clean the roof, gutters and yard with a magnet sweep for nails, and check the attic after the next significant rain to confirm the water has stopped. If a roof has a second hidden leak, that is when it shows itself, and we keep tracing until the attic stays dry.
- 20+ Years on North Jersey Roofs
- Itemized Written Scopes
- Attic-to-Ridge Leak Tracing